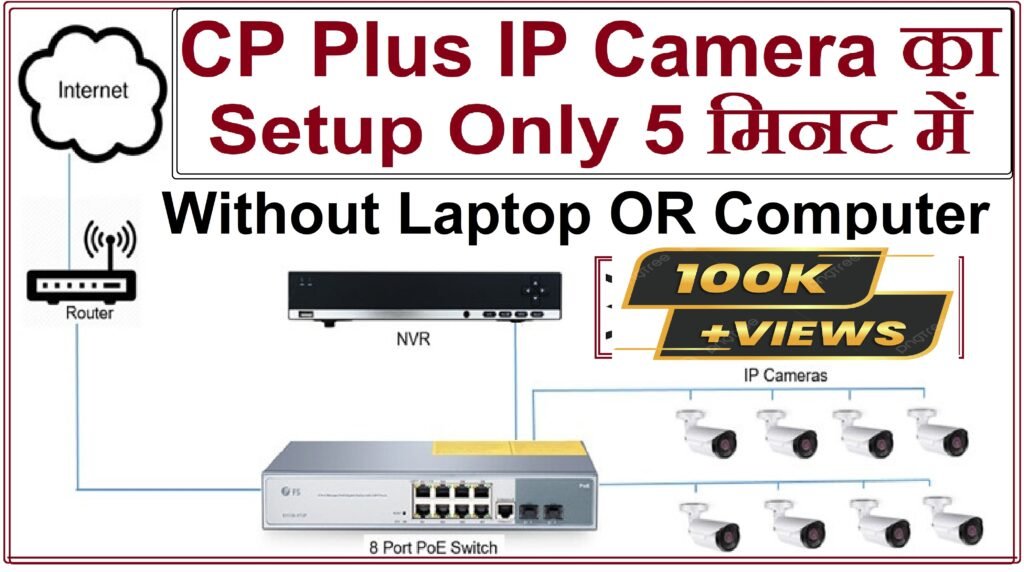
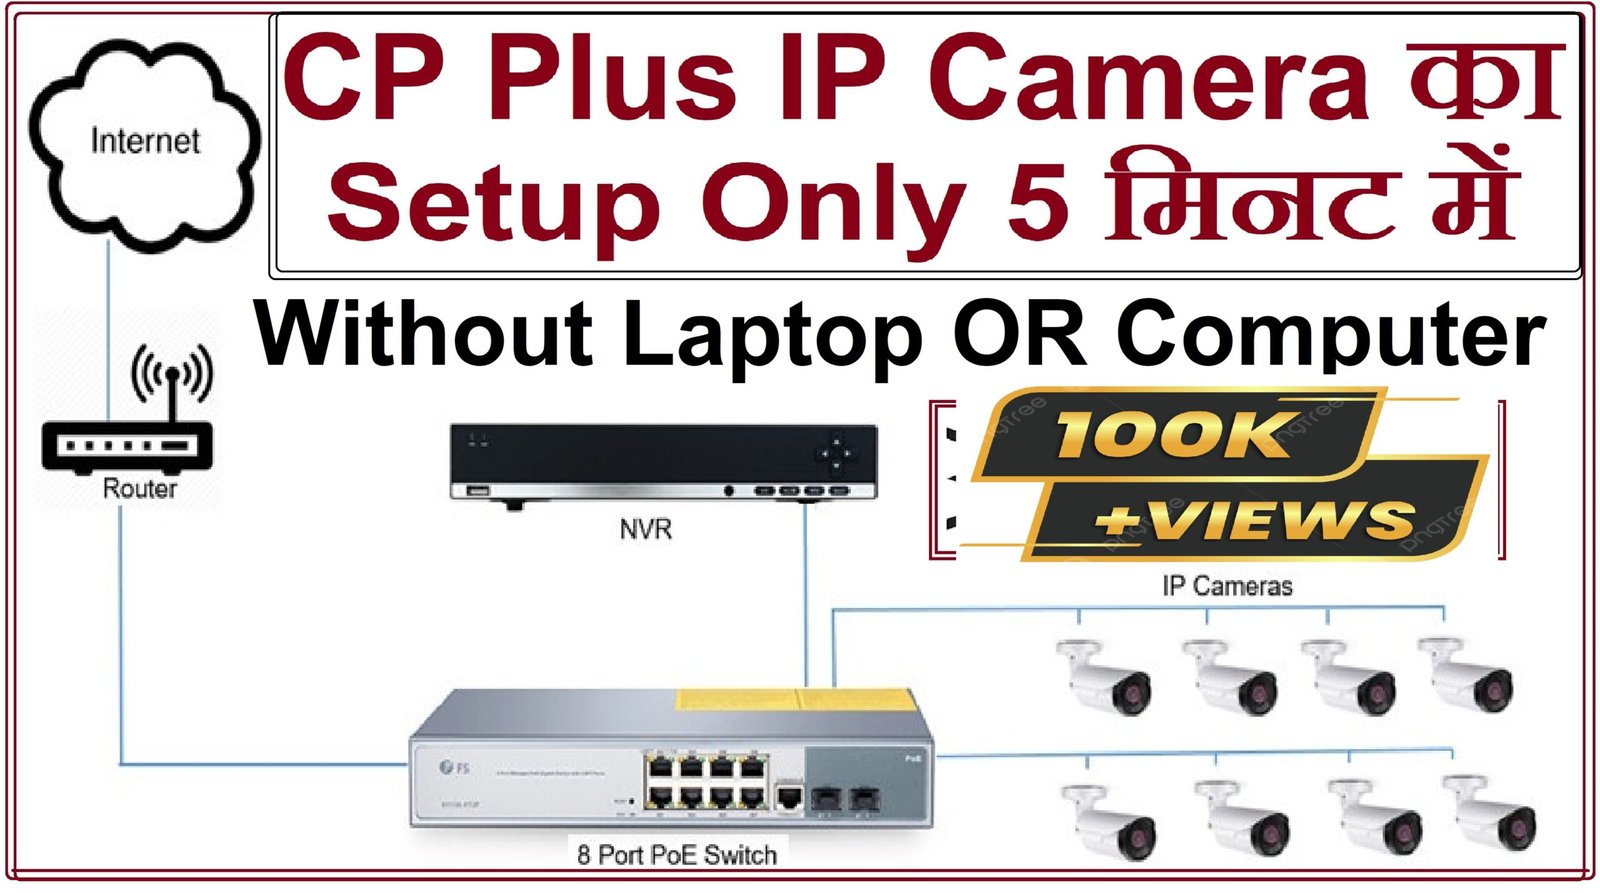
Introduction – IP camera involves several steps, from physical installation to configuring network settings and accessing the camera feed.

Here’s a comprehensive guide to help you set up an IP camera:
Physical Installation:
Choose Camera Location:
- Determine the location where you want to install the IP camera. Ensure it provides a clear view of the area you want to monitor.
Mounting:
- Use the provided mounting bracket to install the camera securely on a wall or ceiling. Follow the manufacturer’s guidelines for proper mounting.
Power Connection:
- Connect the camera to a power source using the provided power adapter or via Power over Ethernet (PoE), if supported.
Network Connection:
- Connect the camera to your local network using an Ethernet cable if it has a wired connection. For wireless cameras, follow the manufacturer’s instructions for connecting to your Wi-Fi network.
Software Configuration:
Camera Discovery:
- Use the camera discovery tool provided by the manufacturer to find the camera on your network. This tool may come with the camera or be available for download from the manufacturer’s website.
Access Camera Interface:
- Open a web browser and enter the camera’s IP address into the address bar. Log in using the default username and password provided in the camera’s documentation.
Change Default Password:
- Immediately change the default password for security purposes. Choose a strong, unique password to protect your camera from unauthorized access.
Network Configuration:
Static or Dynamic IP:
- Decide whether to assign a static IP address to the camera or use Dynamic Host Configuration Protocol (DHCP). A static IP can make it easier to access the camera consistently.
Port Forwarding (if accessing remotely):
- If you want to access the camera remotely over the internet, set up port forwarding on your router to forward external requests to the camera’s internal IP address.
DDNS (optional):
- If you don’t have a static IP address from your ISP, consider setting up Dynamic Domain Name System (DDNS) to access your camera using a domain name instead of an IP address.
Camera Configuration:
Image and Video Settings:
- Adjust image settings such as resolution, frame rate, and compression to suit your preferences and available bandwidth.
Motion Detection:
- Configure motion detection settings if your camera supports this feature. Set detection zones and sensitivity levels.
Recording Settings:
- Set up recording preferences, including storage location (local or cloud) and recording schedules.
Remote Access:
Install Mobile App:
- Install the manufacturer’s mobile app on your smartphone or tablet for remote access.
Cloud Services (if applicable):
- If the camera supports cloud services, consider setting up cloud storage or remote viewing options.
Test Remote Access:
- Test remote access to ensure you can view the camera feed from anywhere with an internet connection.
Troubleshooting:
Check Camera Status LEDs:
- Refer to the camera’s manual to interpret the status LEDs. They can provide insights into the camera’s operational status.
Review Documentation:
- Always refer to the camera’s user manual and documentation for troubleshooting tips and additional features.
By following these steps, you should have a fully set up IP camera ready for monitoring. Remember to keep the camera firmware updated for security and performance improvements.

