Home Blog

SIM Base कैमरा, सिम लगावो और काम चालू 360 डिग्री कैमरा

0

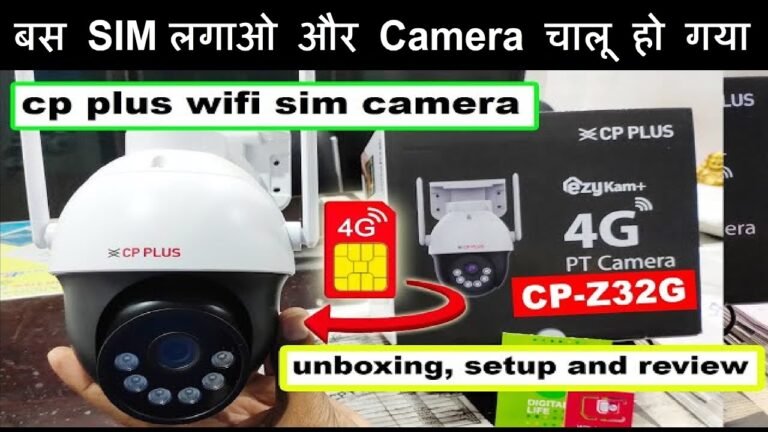
CP PLUS का SIM बेस कैमरा जिसमे SIM लगाओ और काम चालू 360 डिग्री कैमरा है | जिसका मॉडल नंबर है CP-Z32G इस कैमरा में आप 360 डिग्री पूरा एंगल ऑफ़ व्यू देख सकते है | ऑनलाइन अपने घर शॉप और ऑफिस को देख सकते है | अंदर आप मेमोरी कार्ड भी लगा सकते है | ये कैमरा 256 GB तक सपोर्ट करता है |

इस कैमरा की सबसे अच्छी खासियत यह है की, इसमें आपको इंटरनेट देने का कोई टेंशन नहीं है | सिम से ही कैमरा इंटरनेट ले लेगा और कैमरा ऑनलाइन दिखने लगेगा | इस कैमरा को ऑनलाइन देखने के लिए मोबाइल अप्लीकेशन gCMOB में आप कही से अपने शॉप , घर या ऑफिस को देख सकते है |

इस कैमरा की UNBOXING और फुल INSTALLATION निचे दिए गए वीडियो में दिखाया गया है | यह वीडियो हिंदी भासा में है | पूरा वीडियो देखे और आप खुस से कैमरा इनस्टॉल कर सकते है |

पूरा वीडियो देखे और आप खुद से कैमरा इनस्टॉल कर सकते है |

NVR, DVR और IP Camera में WDR HLC BLC कैसे Enable करे |

0

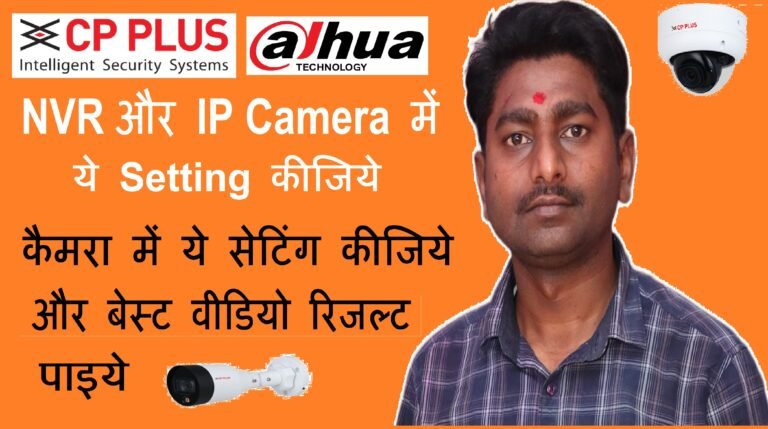
नमस्ते दोस्तों आज हम बताएगे की आप अपने DVR NVR और IP CAMERA में WDR HLC BLC कैसे इनेबल कर सकते है | ये सेटिंग CP PLUS और DAHUA दोनों ब्रांड के DVR NVR और IP CAMERA में काम करेगा |

सेटिंग करने के लिए हम पहले डिस्प्ले के मेनू में जाएगे | फिर सेटिंग के अंदर कैमरा के अंदर जाएगे उसमे कंडीशन ऑप्शन आएगा उसमे क्लीक करेंगे | कंडीशन के अंदर ही बैक लाइट का ऑप्शन आएगा | उसमे तीन सेटिंग आएगा HLC BLC और WDR |

हिंदी में पूरा वीडियो कके द्वारा बताया गया है | निचे दिए गए वीडियो में स्टेप ब्यय स्टेप बताया गया है | वीडियो में क्लिक करे और पूरी सेटिंग को आप अपने से कर ससकते है |

हिंदी में पूरा वीडियो कके द्वारा बताया गया है

DVR NVR और IP Camera में Encode की सेटिंग कीजिये और बेस्ट फुटेज पाइये |

0

अगर आप कैमरा का फुटेज सबसे अच्छा चायते है तो ये सेटिंग एनकोड के अंदर से होती है | चाए DVR, NVR या IP Camera हो सब में ये सेटिंग करना जरुरी होता है तभी आपको बेस्ट क्लेयरटी मिलेगी | ये सेटिंग आप CP PLUS और DAHUA के ब्रांड में कर सकते है | शामे सेटिंग दोनों में अप्लाई होगी |

इस सेटिंग करने के लेया आपको मेनू के अंदर MENU ऑप्शन में जाना है और उसमे Encode सेटिंग में क्लिक करना है | इसके बाद कैमरा चैनल नंबर को सेट करना है, निचे CVR और VBR ऑप्शन आएगा उसमे से VBR को सेलेक्ट करके बेस्ट ऑप्शन ६ में अप्लाई कर देना है |

इसके बाद आप लाइव व्यू में जेक चेक कर सकते है आपको बेस्ट क्वालिटी की वीडियो और इमेज फुटेज मिलेगा | पूरा सेटिंग का वीडियो हिंदी में निचे दी गया है | आप निचे दिए गए वीडियो को देखे |

पूरा सेटिंग का वीडियो हिंदी में निचे दी गया है | आप निचे दिए गए वीडियो को देखे |

DVR के सभी कैमरा को NVR में कैसे ऐड करे, पूरा प्रोसेस हिंदी में समझिये

0

आज हम बताएगे की DVR के कैमरा को NVR में कैसे देखे या मल्टीप्ल DVR को एक NVR में कैसे ऐड कर दे | Example के लेया आज हम Dahua के DVR को Dahua के NVR में ऐड करेंगे और पूरा प्रोसेस बताएगे |

चलिए एक DVR लेते है उसका IP Address नोट कर लेते है | DVR का IP Address चेक करने के लिए Main मेनू में जाकर आपको नेटवर्क के अंदर जाना है | यहाँ पर आपको TCP IP मिलेगा उसमे क्लिक करे IP Address आपको वहा मिल जाएगा |

Example के लिए हमें IP मिला 192.168.1.108 अब हम NVR को लॉगिन कर लगे और जहा पर IP Camera ऐड करते है वहा पर इस IP 192.168.1.108 को ऐड कर लगे | ध्यान रहे NVR और DVR की IP Same न रहे | इस IP को जितने कैमरा DVR में हो उतने बार ऐड कर लगे | केवल चैनल नंबर बस चेंज करते रहेंगे |

इस पूरी प्रक्रिया को वीडियो से समजे, हिंदी में वीडियो दिया गया है |

Ezviz का EB3 WiFi कैमरा, बैटरी बैकअप के साथ, 120 दिन तक बैकअप | कलर रात में भी

0

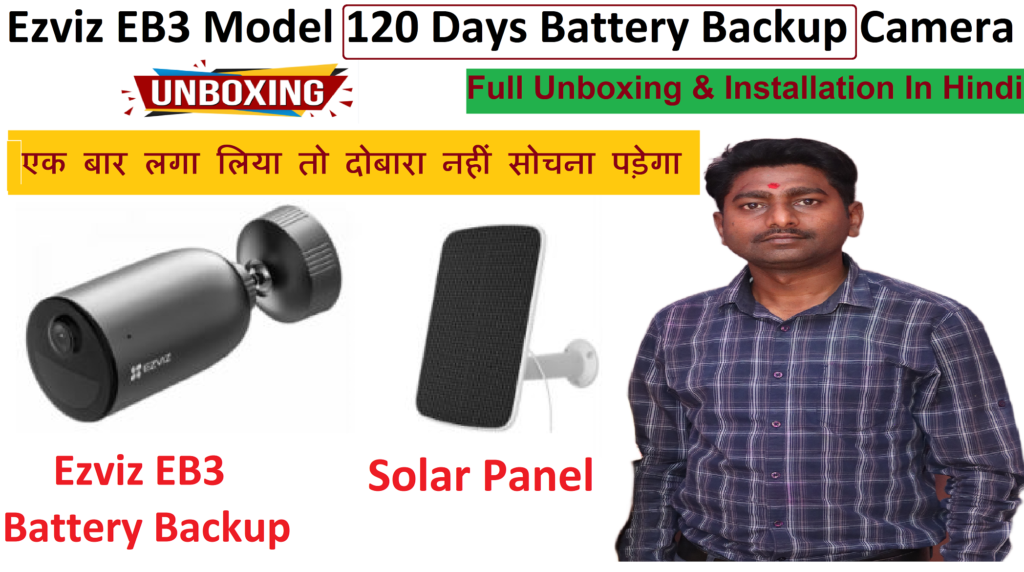
आज हम बात करेंगे Hikvision के Ezviz कैमरा के बारे में जिसका मॉडल नंबर है EB3 , इस कैमरा का सबसे अच्छी बात यह है की इसमें बेट्टेरी बैकअप 120 दिन का मिल जाता है | ये कैमरा मोशन होने में ही रिकॉर्डिंग करता है जिससे इसमें बैटरी 120 दिन तक चल जाता है |

Purchase Link of Camera – https://amzn.to/4bhHgVz

Purchase Link of Solar Panel – https://amzn.to/3Opjltz

इस कैमरा को आप सोलर पैनल के द्वारा भी पावर दे सकते है | सोलर पैनल कैमरा को हमेसा पावर देता रहेगा और पावर देने का झंझट ख़तम | अगर आप इस कैमरा को खरीदना चाहते है तो नीचे दिए गए लिंक में क्लिक करके कैमरा और सोलर पैनल ले सकते है |

कैमरा के अंदर Humen Detection का ऑप्शन भी है और PIR सेंसर भी है, जिससे यह कैमरा किसी Person को देख कर ही अलार्म और रिकॉर्डिंग करना स्टार्ट कर देता है | ये इसका फीचर्स बहुत ही Useful है |

Purchase Link of Camera – https://amzn.to/4bhHgVz

Purchase Link of Solar Panel – https://amzn.to/3Opjltz

नीचे एक वीडियो हिंदी में दिया गया है जिसमे कैमरा की Unboxing से ले कर फुल इंस्टालेशन बताया गया है आप नीचे वीडियो देख कर खुद भी इनस्टॉल कर सकते है |

कैमरा की Unboxing से ले कर फुल इंस्टालेशन बताया गया है आप नीचे वीडियो देख कर खुद भी इनस्टॉल कर सकते है |

CP Plus का Wifi 360 डिग्री कैमरा, मेमोरी कार्ड लगाइये और स्टार्ट हो जाएगा |

0

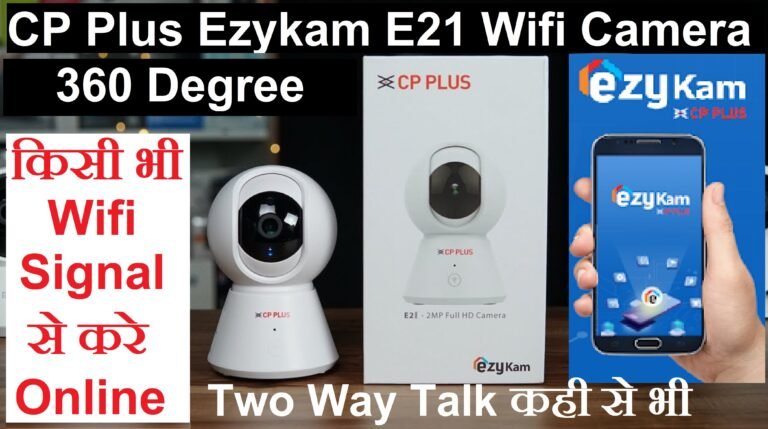
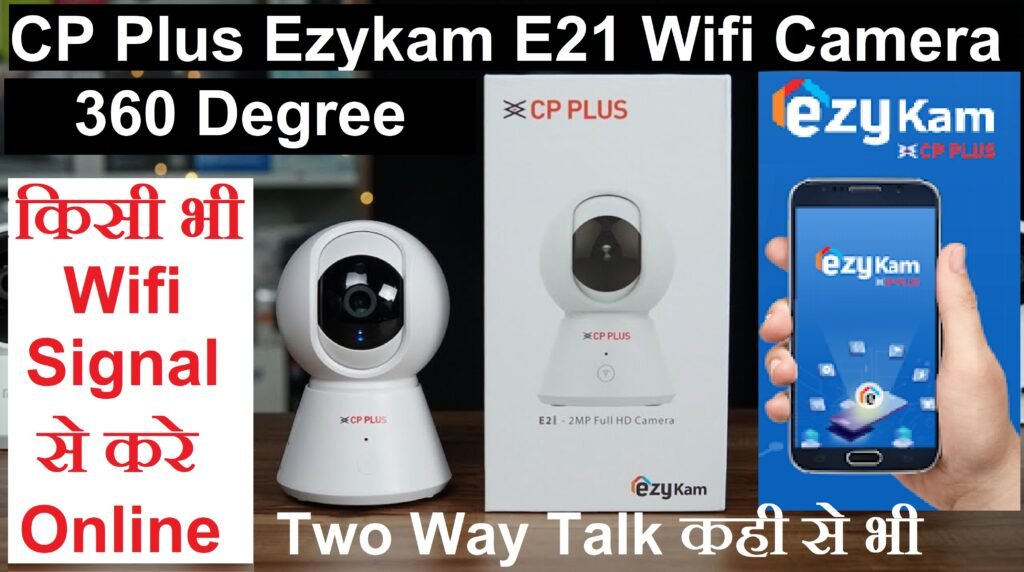
CP Plus का ये विफई कैमरा बहुत टेन्डिंग में चल रहा है | इसे आप अपने शॉप, ऑफिस और हॉल में लगा सकते है | प्लग & प्ले ये पूरा कैमरा है अगर आप कैमरा का वीडियो ऑनलाइन देखना चायते है तो इंटरनेट इसके साथ और लगा दीजिये और इसे आप कही से दुनिया के किसी कोने से अपने घर, ऑफिस और शॉप को देख सकते है |
CP Plus का यह कैमरा बहुत लाइट वाइट होता है | इसमें मोशन ट्रैकिंग का भी औप्शन है| इसका मतलब कोई आदमी जिस साइड मूव करेगा उधर ये कैमरा आटोमेटिक घूम जाएगा | इस कैमरा में Mic और Speaker भी है जिससे आप Two Way टॉक भी कर सेक्टर है |

अगर आप भी इस कैमरा को परचेस करना चायते है तो निचे दिए गए बटन में क्लिक करे और इसे खरीद ले |

इस कैमरा का Unboxing और पूरा installation देखने के लिए निचे पूरा वीडियो दिया गया है | जिसमे कैमरा के सारे फीचर्स बताए गए है | निचे दिये गए वीडियो को देखे |

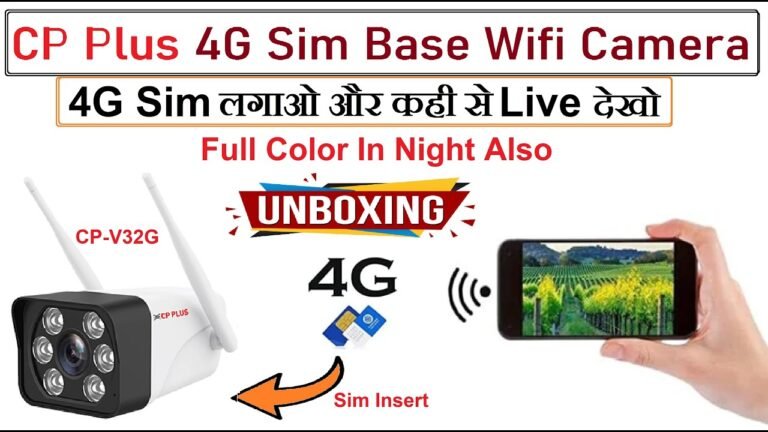
CP Plus का 3MP 4G SIM वाला Camera CP-V32G || रात में भी Full Color दिखेगा

0

सीपी प्लस का सिम बेस कैमरा, आज कल मार्किट में बहुत चल रहा है | आज कल ट्रेंडिंग में चल रहा है, अच्छी बात है यह है की यह कैमरा रात में भी फुल कलर में दीखता है | मतलब नाईट में ब्लैक & वाइट में नहीं जाता, जिससे रात में भी पर्सन को जाना जा सकता है |

इस कैमरा की खासियत यह है की यह कैमरा आप ऐसी जगह लगा सकते है जहा पर आप कैमरा को ऑनलाइन नहीं देख सकते जैसे की खेत, फोम हाउस और अपना कारखाना | आपको इस कैमरा में सिम और मेमोरी कार्ड लगाना है और लाइव कैमरा आपके मोबाइल में दिखने लगेगा | है ना बहित शानदार बात |

यह कैमरा में LED लाइट लगी है जो रात होने पर आटोमेटिक चालू हो जाता है और आप सब को कलर फुल इमेज और वीडियो दिखाई देता है |

अभी इस कैमरा को खरीदने के लेया नीचे दिया गया बटन में क्लिक करे और सस्ते में खरीदे |

इस कैमरा का फुल Unboxing की गई है | फुल इंस्टालेशन प्रोसेस और फीचर्स बतया गया है | यह वीडियो हिंदी में है आप पूरा वीडियो देखिए |

खरीदने के लेया मैंने नीचे बटन दी है आप ओने क्लिक में इसे खरीद सकते है |

फुल वीडियो हिंदी में नीचे दिएा गया है | Unboxing करके दिखया गया है |

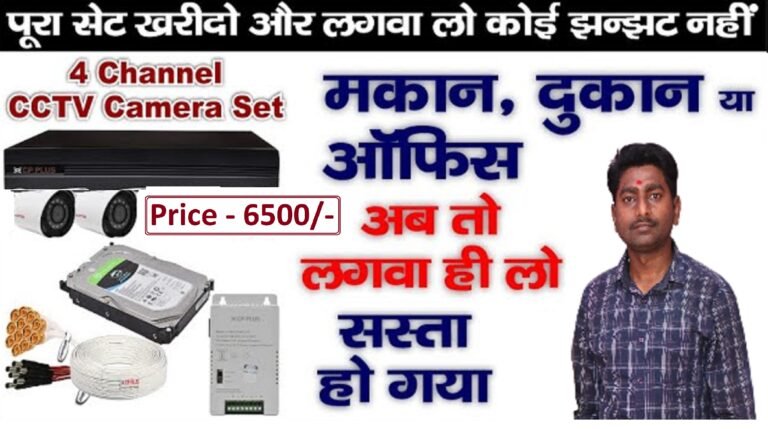
Best CCTV Camera घर, दुकान और Office 2024 || CP Plus CCTV इंस्टालेशन प्रोसेस हिंदी में

0

आप अपने घर पर CP Plus CCTV Camera लगाने वाले हैं और इसीलिए आप दुकान पर भी गए थे लेकिन वहां पर आपको सीसीटीवी का दाम बहुत ही ज्यादा मिला है ना, लेकिन अगर आप सीसीटीवी स्कोर ऑनलाइन खरीदेंगे तो आपको सीसीटीवी कॉम बॉक्सर आपको बहुत ही कम दाम में मिल जाएगा जैसे कि amazon  सीपी प्लस का Combo Set आपको मिल जाता है ₹6500/-  के अंदर और इसके बारे में मैंने एक वीडियो बनाकर रखा है और उसका लिंक में डिस्क्रिप्शन में दे दूंगा आज का जो वीडियो है वह भी जन का बहुत ही अच्छा ब्रांड है तो आदत है उसका दाम है | 

Purchase Link – https://amzn.to/42cBzEe

इसमें आपको Link है  इसको खरीदने का है लेकिन इसको खरीदने के लिए के लिए टेक्नीशियन का Help लेना पड़ेगा और टेक्नीशियन सर्च करते हैं ₹300 से ₹500 के अंदर लेकिन अगर इस वीडियो को पूरा देखेंगे तो आप खुद ही इंस्टॉल कर पाएंगे तो इस वीडियो को ध्यान से जरूर देखें |

इस बॉक्स के अंदर 2 Bullet Camera, DVR , 500 GB HDD , Power Supply, 3+1 Cable  रहता है | फुल इंस्टालेशन आप किसी भी इलेक्ट्रीशियन से करा सकते है | अगर आप 2 Camera और इस DVR में लगाना चायते है तो लगा सकते है अलग से खरीद कर |

Purchase Link – https://amzn.to/42cBzEe


फुल इंस्टालेशन वीडियो नीचे दिया गया है | उसे देख कर आप पूरा सेटअप कर सकते है बहुत आसानी से, नीचे दिए गए वीडियो को देखे |

To Watch Full Installation Process of CP Plus DVR Setup With 2 Bullet Camera:-

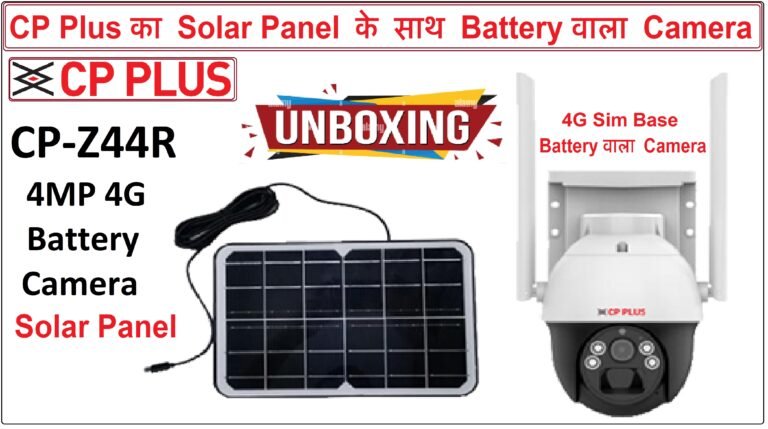
CP Plus 4MP 4G Battery Camera with Solar Panel || CP-Z44R 4MP 4G Solar Panel Camera

0

Introduction – Using a solar panel to power a CP Plus CCTV camera is a sustainable and energy-efficient solution, especially in locations where access to a reliable power source is limited or where traditional power infrastructure is not available.

Here’s a basic guide on setting up a CCTV camera with a solar panel:

  1. Selecting the CCTV Camera:

    • Choose a CCTV camera with low power consumption suitable for solar power setups.
    • Opt for a camera with built-in or compatible power-over-ethernet (PoE) capability, as this simplifies the power and data connection.
  2. Selecting the Solar Panel:

    • Determine the power requirements of your CCTV camera (voltage and current).
    • Choose a solar panel with sufficient capacity to meet the camera’s power needs.
    • Consider the location’s sunlight exposure when selecting the solar panel’s capacity.
  3. Selecting a Charge Controller:

    • Use a solar charge controller to regulate the power flow from the solar panel to the camera and prevent overcharging of the battery.
    • Ensure the charge controller is compatible with the solar panel and battery specifications.
  4. Selecting a Battery:

    • Choose a rechargeable battery to store excess solar energy for use during periods of low sunlight or at night.
    • The battery capacity should be sufficient to power the CCTV camera during periods of low or no sunlight.
  5. Mounting and Installation:

    • Install the solar panel in a location with maximum sunlight exposure.
    • Mount the camera securely and ensure it is positioned for optimal surveillance coverage.
    • Connect the camera to the PoE injector, which is connected to both the solar charge controller and the battery.
  6. Wiring:

    • Connect the solar panel, charge controller, battery, and CCTV camera using appropriate wiring.
    • Ensure all connections are secure and weatherproof.
  7. Testing and Maintenance:

    • Test the system to ensure proper functionality.
    • Regularly inspect the solar panel, wiring, and connections for any damage or issues.
    • Keep the solar panel clean to maximize efficiency.
  8. Monitoring:

    • Set up a monitoring system to check the status of the solar panel, battery, and camera remotely.
    • Use the camera’s features to record and store footage based on motion detection or a continuous recording schedule.

Remember to check local regulations and restrictions, and possibly consult with a professional if you’re unsure about the specific requirements for your location. Additionally, consider the environmental conditions and choose equipment that is suitable for outdoor use and can withstand various weather elements.

Unboxing and Full Installation Process of CP Plus 4MP 4G Battery Camera with Solar Panel Model - CP-Z44R Watch Full Video :-

Hikvision Door Frame Metal Detector DFMD Product Demo

2

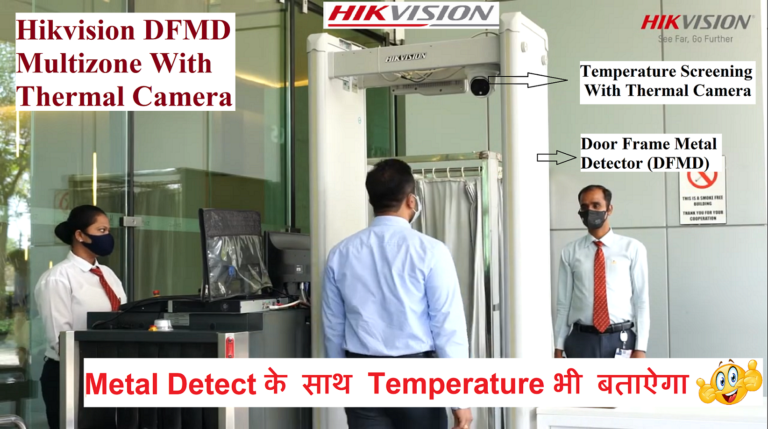
Introduction – A Hikvision Door Frame Metal Detector (DFMD) is a security screening device designed to detect the presence of metallic objects on a person’s body as they pass through the door frame. These detectors are commonly used in various security-sensitive environments, such as airports, government buildings, public events, and high-security facilities.

The basic operation of a Door Frame Metal Detector involves emitting a low-frequency electromagnetic field through the door frame. When a person walks through the frame, the detector senses any disturbances or changes in the electromagnetic field caused by the presence of metallic objects. 

Door Frame Metal Detectors are typically used for security screening purposes in various environments, such as airports, government buildings, and other high-security areas. These devices are designed to detect the presence of metallic objects on a person’s body.

Key features of Door Frame Metal Detectors may include:

  1. Detection Sensitivity: The ability to detect various sizes and types of metal objects, including both ferrous (iron-based) and non-ferrous metals.

  2. Adjustable Settings: Many detectors allow for sensitivity adjustments to minimize false alarms and cater to different security requirements.

  3. Alarm Systems: Audible and visual alarms are typically integrated to immediately notify security personnel when a metal object is detected.

  4. User-Friendly Interface: An easy-to-use control panel or interface for operators to monitor and manage the device.

  5. Integration with Access Control Systems: Some models may have the capability to integrate with access control systems, allowing for seamless security management.

  6. Durability and Weather Resistance: Depending on the application, detectors may need to be weather-resistant or suitable for outdoor use.

It’s essential to follow local regulations and standards when deploying Door Frame Metal Detectors, and regular maintenance and calibration are crucial to ensure their effectiveness. Always refer to the manufacturer’s guidelines and specifications for proper installation and operation.

Hikvision Door Frame Metal Detector (DFMD) Product Demonstration in Hindi, Watch Below Video :-